
Cosplay Wig Pigtails Tutorial: How to Hide Wig Wefts

We know the struggle: You want to give your cosplay wig some pigtails, but you don't want all the netting and wig wefts showing. Not only does it look weird, but it's a bit embarrassing. In this tutorial I'll show you how I cover up the back of my wigs with the criss-cross method (+ 'curtains'). Step-by-step instructions below!
ITEMS YOU’LL NEED:
Wig Brush - works better on wigs than regular brushes
Tail Comb - easier to part and separate the layers of hair
Hair Clips - help you keep hair out of the way and prevent hair from undoing the criss-crossing
Hair Ties- securing the pigtails at the end :)
Mountable Wig Mannequin Head - makes styling super easy and can pin wig in place to prevent shifting


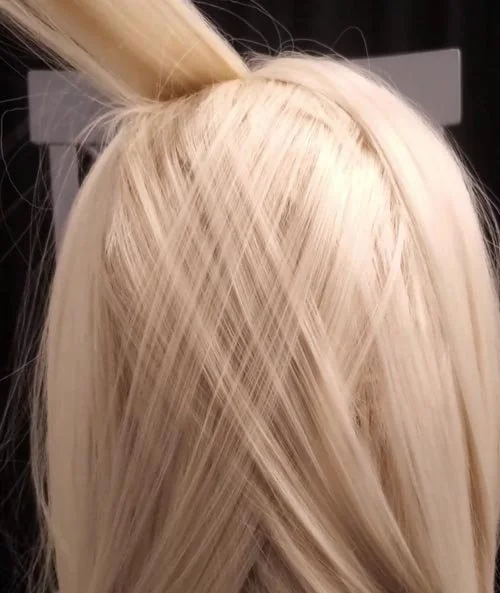
STEP ONE
First, part the hair down the middle like you normally would when making pigtails. Then, from the center part on the left side, take a piece of hair (1-2 inches) from the first bottom row of the wig wefts. Cross it over to the right side. Do the same on the right, taking some hair and crossing it over to the left. I know, it sounds pretty easy, right?

STEP TWO
Go up to the next layer above. You're going to repeat same steps: taking hair, combing it straight, and neatly crossing over - left side then the right. You're going to continue this all the way up the back of the wig, until you reach the crown of the head.
Don't try to rush this by grabbing multiple layers at once. The more layers that cross neatly means more even coverage. I'm an impatient person, so I know it's not easy taking it slow and focusing on one layer at a time.. but otherwise you'll mess up and have to undo everything to fix it. You don't want that, it's frustrating >_<

crossing left to right

cross right to left

next layer up

crossing again

don’t let different layers mix!

keep moving up - looking good!

STEP THREE
As I go higher up I start taking a little more hair, an extra 0.5-1 inch or so to cross over. This allows more overlay across the hair you already crossed.
Continue a bit further until you reach the crown of the head. I think of it as the “edge” of the top of the head. Right where it starts to curve backwards, where a ponytail normally sits.
As you can see, even though the center of the wig is now covered, the wefts and netting is becoming visible on either side. That’s where the ‘curtains’ idea comes in.
STEP FOUR
To create these curtains, you'll be using the remaining top layers of hair. Gather the top layers on one side, comb straight back, and lay them down along the back of the wig. Do the other side. They should look like curtains on either side of the criss-crossing, covering any remaining gaps or wefts showing.


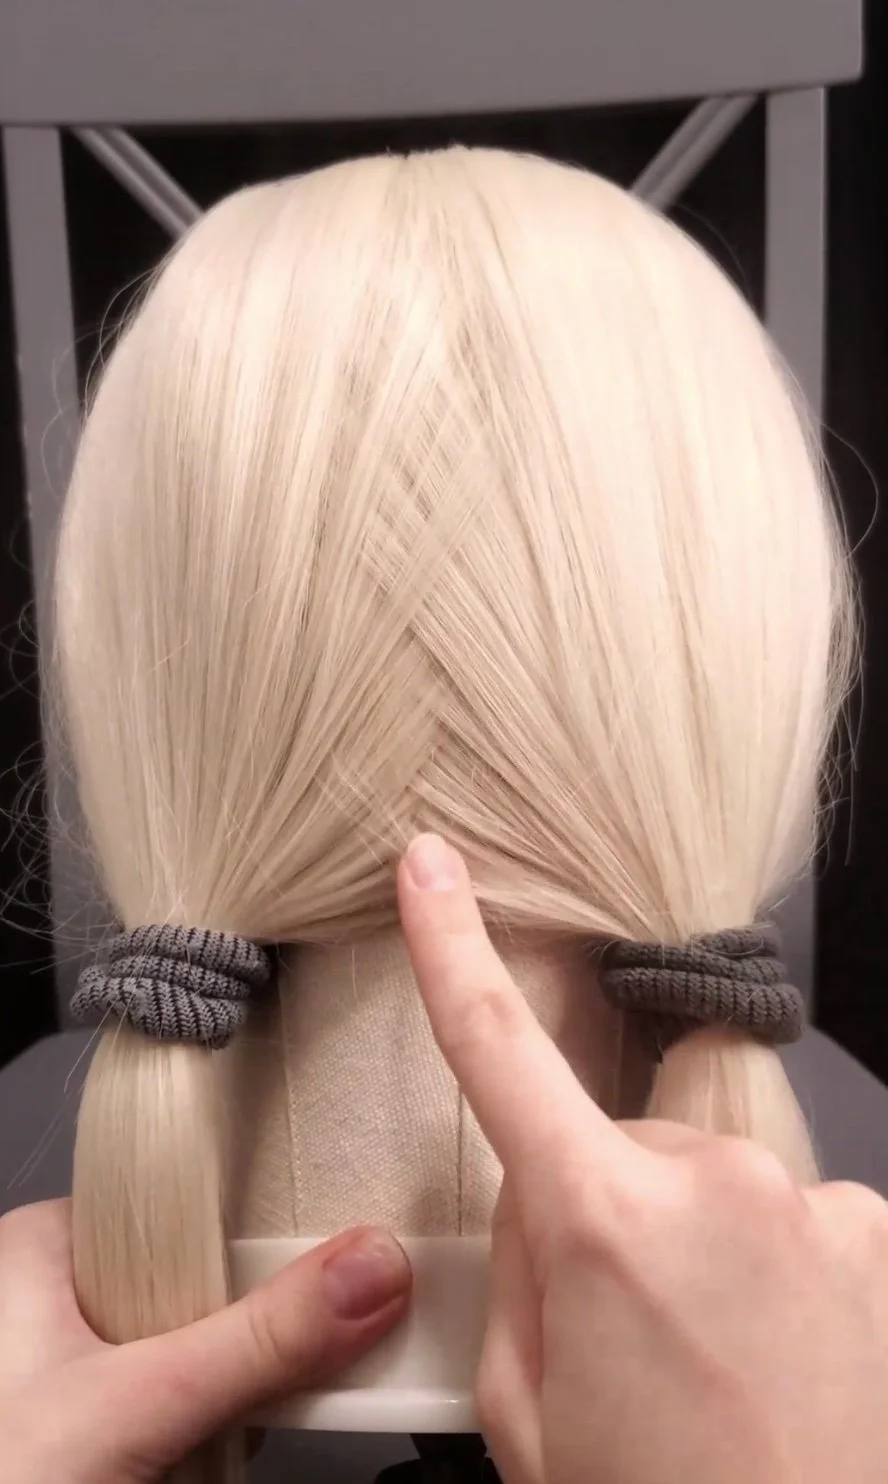
STEP FIVE
Brush together the hair one side at a time and put into loose, temporary pigtails. You'll probably undo and redo the hair ties as you make final adjustments.
I make the curtains of hair come closer in the middle by making them lay flatter. I comb them again, making sure they're going in the direction the wig wants the hair to go. You can see this when looking directly at the top of the head.
Once you have the hair laying as smooth as you can, put in the final hair ties! Sometimes I'll spray the back with a light spray of got2b hairspray to prevent any shifting or loose hairs.


AND YOU’RE DONE!
I originally learned this method from an old Arda Wigs tutorial, but didn't like seeing the criss-cross pattern go all the way up the wig. It looked odd to me.. That's why I added the 'curtains' idea. The criss-crossing is only visible towards the bottom in a triangle shape, so it's less noticeable. It tends to look more natural, or at least less weird. What do you think?

Well, I hope that helps you guys :) Good luck on your wigs!